Your project is nearly done.
You decide to finish your hemline by machine and it just looks
AWFUL!
Maybe the stitching is inferior, crooked or twisted. Maybe it just looks…too plain.
Let’s think through some possible solutions.
First of all,

Not what you expected me to suggest?
It’s sometimes quicker and easier to fix it the right way.
Take out the unfortunate stitching and do it over.
Let that sink in a moment. I know you’re squirming.
It took me a long time to realize that the sooner I accept a problem the sooner
I can get it fixed.
But, maybe you’re afraid to remove the stitching because the fabric is delicate.
Solution two: turn up the hemline again, and hem it by hand. Here’s a great article on
hem stitches: http://www.wikihow.com/Hand-Sew-a-Hem
I know you hate hand-work with a passion but it can fix lots of things. It doesn’t take long.
Turn on the TV. You’ll be done in no time.
As a side benefit,
hand-work is often the sign of better quality workmanship.
(maybe you should raise the price on that garment)
Consider this pink gown.
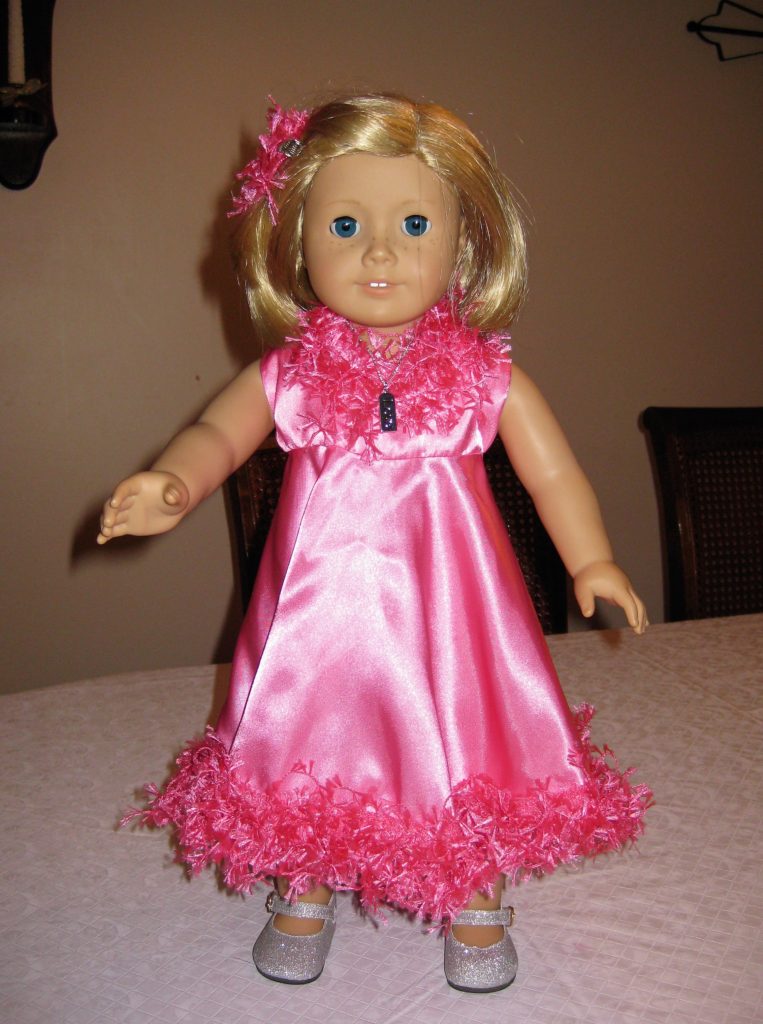
When this dress was finished the hemline just had that ‘Becky Home-Ec-y’ look about it.
it was a bit un-even, rippled and sad. Disappointing and definitely not up to my standards.
I was afraid to rip it out and I truly didn’t think re-doing it
would improve anything.
It was mainly a fabric issue. I bought inexpensive, ‘costume type’ satin for this gown.
Wiggly, shifty stuff that slipped and slid and did not cooperate.
I learned my lesson. After this fiasco I returned to
my favorite satins, the Casa Collection from JoAnn Fabrics.
These are medium weight, polyester satins suitable for special occasions.
Not sure what I’m talking about?
Avoid anything satin on the costume aisle! Shop in the special occasion aisle and you should be fine.
In any case, my hot pink costume satin gown was already constructed. I did not want to just trash it!
I found this beautiful fringe-y trim at Hobby Lobby. Just the right shade of hot pink.
Because the trim was so lush and full I was able to attach it with a zig-zag stitch by machine. I simply
covered up that ugly hemline.
In process, I decided that the neckline was a bit low, too and I applied the same trim there.
A leftover scrap became a hair clip
The end result is better than the original plan!
Depending on the fabric, you might try other solutions, too.
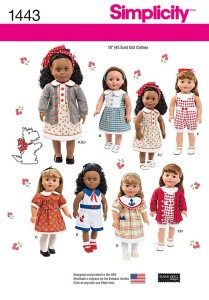
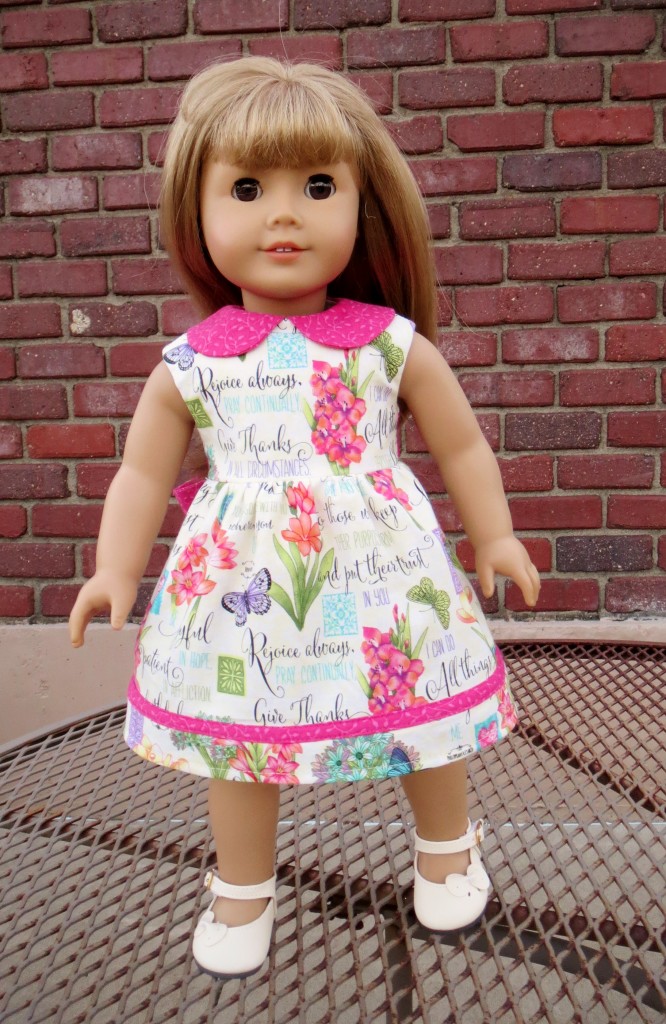
Here’s a little Easter dress that ended up too short. Modified slightly from this pattern:
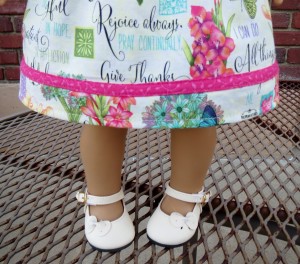
Rather than make bloomers I added a hem-band in the same fabric and covered the seamline join
in the contrasting trim. You might also use this method to cover a puckered line of straight stitching.
Consider rick-rack or braided trim as another option for this.
Adding a hemline ruffle is another potential fix when a hemline is disappointing.
This skirt didn’t really have a problem. It just looked ‘ordinary’.
I added a ruffle and it suddenly looked
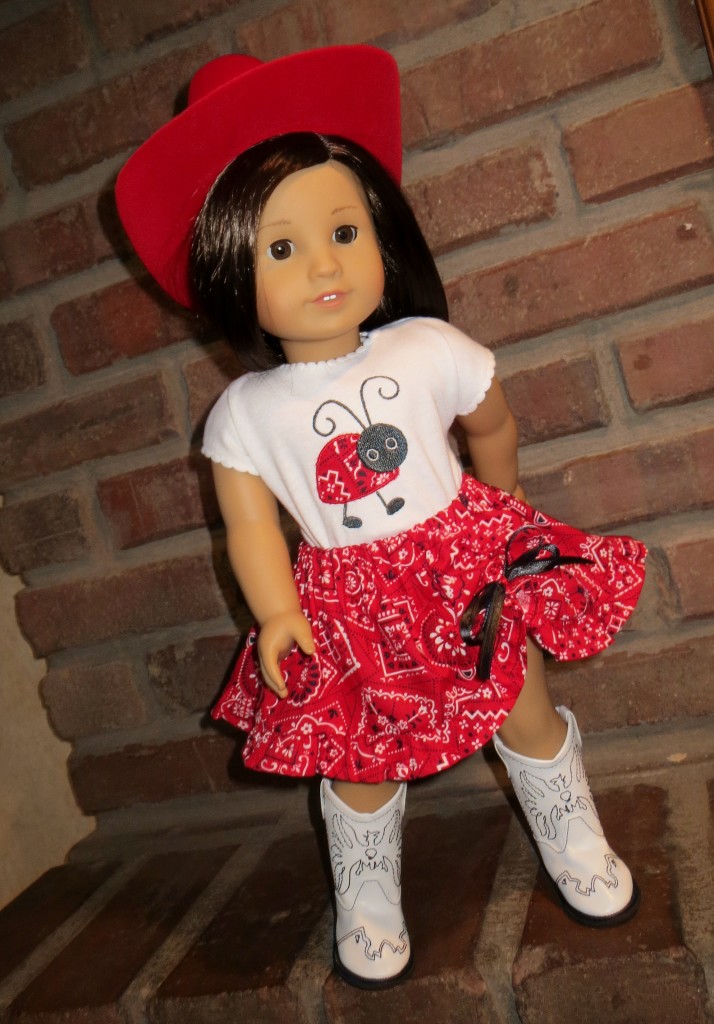
JUST RIGHT!
Notice another possible ‘fix’. Gather up a small area and stitch a ribbon bow over it for added flair.
Skirt pattern shown is my own, ladybug applique design is part of a set available on etsy, from ‘Sew
with Lisa B’ here is a link to purchase it: https://www.etsy.com/listing/73559636/cute-ladybugs-applique-machine?ref=shop_home_listings
These are just a few ideas to get your hemlines heading in the right direction.

Oh my goodness!! I’ve added lace and ruffles to extend my hemline but never, in a million years, would I have thought to add more of the same fabric! 🙂 Thank you for that awesome tip.
You are welcome! Sometimes we think of the most obvious solution last, don’t we?
Great ideas! It’s a great skill to be able to re-think things when things don’t go as we plan (which happens for everyone at times 🙂 )
Good ideas here….thanks
whoah this blog is fantastic i like reading your posts. Stay up the good work! You know, lots of persons are searching around for this info, you could help them greatly.