A recent topic of conversation
on one of the facebook doll pages I favor
had a variety of questions about
GATHERS.
We covered a variety of ideas.
Just to recap my preferences:
I generally do take the time to run 2 rows of machine gathers
one on the seamline directly, and another in the seam allowance.
If it’s a very special garment I’ve even been known to
run three rows of gathers,
with the third one outside the seam allowance.
(I remove that row after the garment is completed)
I also like to use the anchoring method of a straight pin at one end,
around which I wrap the gathering threads in a figure 8.
This serves to temporarily secure things so that all of your hard work
gathering doesn’t ‘unravel’ before you’ve done your final stitching.
You’ve probably already heard all of that before.
There are two points I wanted to cover today.
First, if you’re working with knit fabric and you need to preserve the stretch
of the knit for wearing purposes?
You’ll want to stitch the garment seam with a narrow/medium width and
medium length zigzag stitch.
It’s not necessary to stretch while sewing, as that
zigzag stitch will ‘build in’ stretch for you.
What you may not know is that
IT’S IMPERATIVE THAT YOU REMOVE YOUR ORIGINAL GATHERING THREADS
after you’re stitched a knit garment seam.
If you don’t?
Well, if you don’t you’ll find that the garment stretch is nil.
Those gathering threads will not allow the garment to stretch!
It’s easy enough to remove them, so just pull them out.
Now, if you thought about this ahead of time
You’ll wisely use a contrasting color thread for your gathering stitches.
In that case, it will be a snap to identify which threads are gathers
and that much easier to remove them!
Second tip:
SHOULD YOUR GATHERS DRAPE GRACEFULLY TOGETHER OR POUF SEPARATELY?
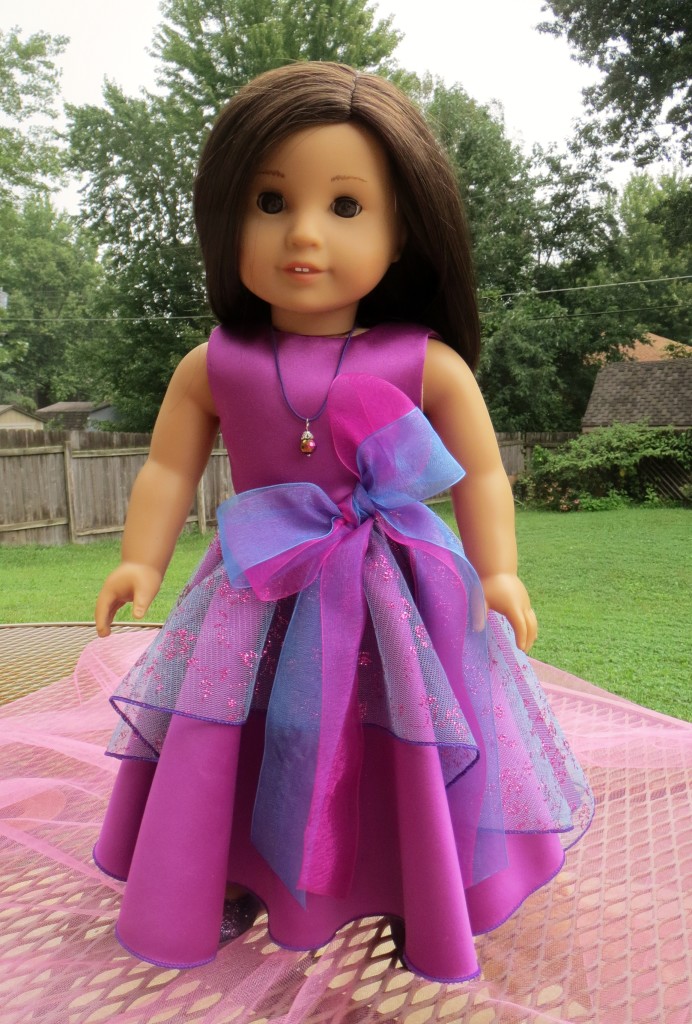
Here’s a photo of a dress with a tulle overskirt that drapes gracefully.

You can see here that the tulle lays relatively smoothly against the fabric of the under-skirt.
This is because the 2 layers were pinned together
and both these layers were gathered at the same time.
As in, the gathering stitches were originally made
through both layers at once.
I refer to this as gathers that ‘nest’ together.
Just like spoons in a drawer.
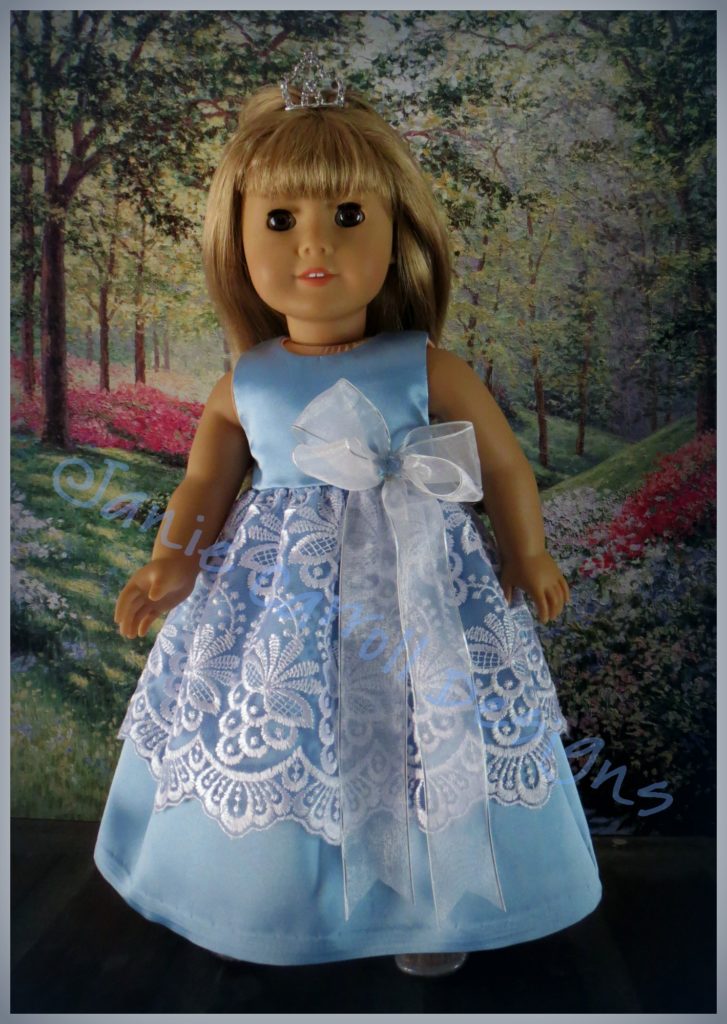
Here’s another example of nested gathers;

This one may be a bit more obvious.
You can clearly see that the sheer lace overskirt lays in
exactly the same folds as the blue satin underneath.
A beautiful example of nested gathers.
Smooth, graceful folds.
Sometimes that’s exactly the effect you want.
And sometimes? It isn’t.
Sometimes you needs POUF!
for a more dramatic effect.
It’s a simple matter to achieve pouf.
Simply gather each layer separately.
Pin each pre-gathered layer together, matching the cut edges
and proceed with construction.
The result?
Beautiful poud!
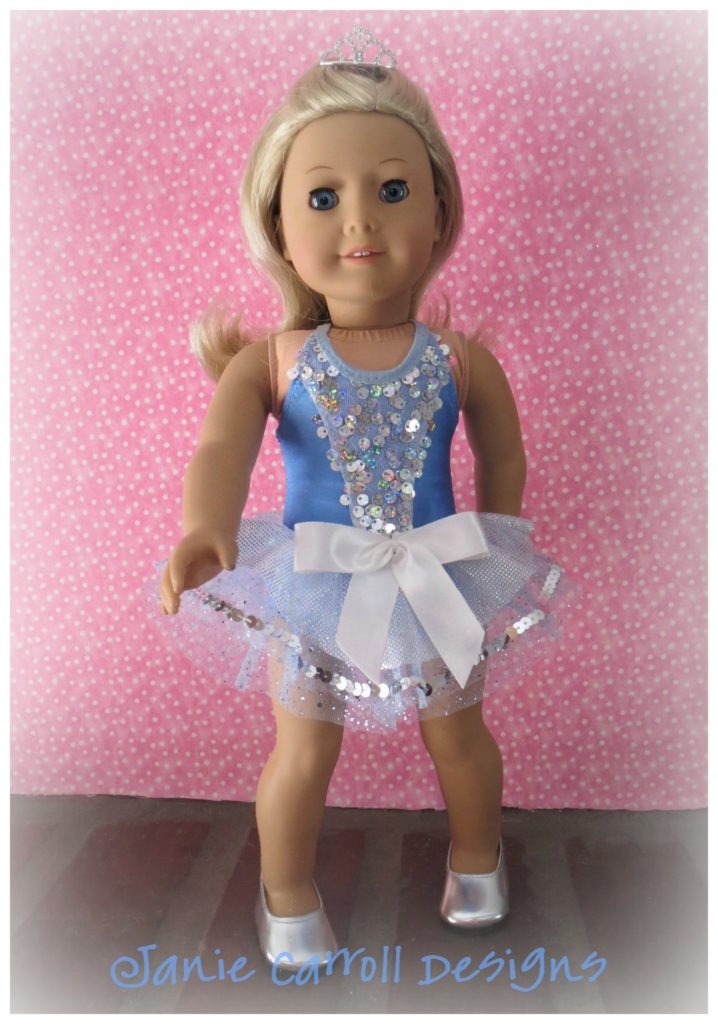
The tutu skirting on this leotard
has 3 separate layers.

It took a bit longer to gather each layer separately
but the results are worth it.
No need to pluck and fluff this skirt.
It’s beautiful layers stand away from each other beautifully.
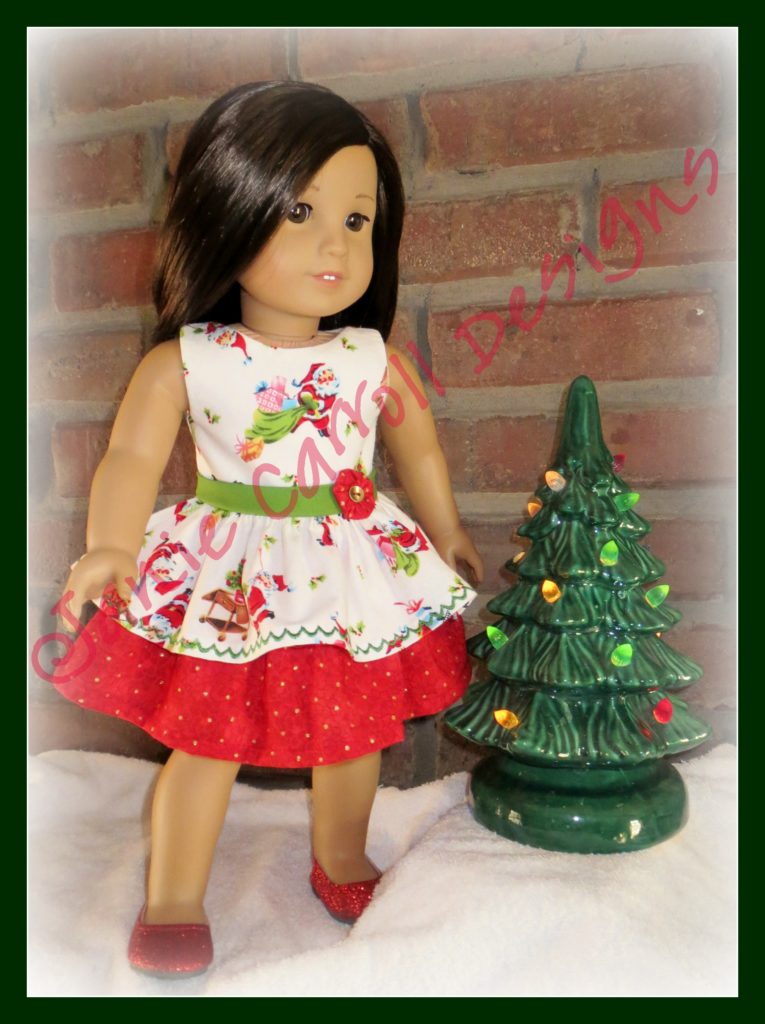
Here’s another example of a garment where the top skirt is
gathered separately from the underskirting.

I hope you can see the ‘lift’ between the fabrics. They are not nesting together.
So, there you have it.
To pouf, or not to pouf?
Your choice!
