I like to say that thrift store shopping is a little like
searching for Prince Charming.
You have to kiss a lot of toads before you meet a Handsome Prince!
This week I met a prince!
Ok, she was more of a Princess…this girl…
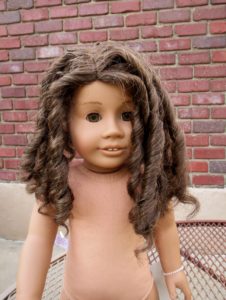
lying in a glass case display, with nothing on but a price tag!
(In case you’re wondering, she is an American Girl brand ‘just like you’ doll, #26)
Luckily, her hair was clean, smelled fresh and still had a ‘gloss’ about it.
The photo above shows our first hair session, in which the hair was misted with water.
Each curl was individually brushed through with a wire wig brush,
and twisted gently by hand.
After viewing this look for a bit I decided it wasn’t for me.
Again, misting the hair with water, I used a hair pick
to blend and soften the curls a bit more.
I finished with a light spritz of
Design Lengths Express Locs
which is a ‘revitalizing leave-in conditioner for synthetic hair pieces & wigs’
My darling daughter purchased this for me at our local Sally Beauty store.
I could not find an online source to link it for you, but most
beauty supply stores should carry something similar.
The important notes here are that doll hair is synthetic.
It does not have the same properties as
human hair and it requires tools, products and treatments meant for synthetic hair.
This post is not meant to serve as a full tutorial on doll hair, information on that
topic abounds on the internet. Unfortunately, misinformation abounds too, so
proceed with caution.
any whoo…..
After this session and some heart to heart conversation…
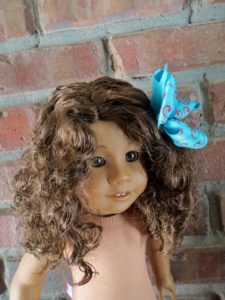
she told me that her name is Karlie
Clearly, she needed something new to wear!
Lucky for her, I had just set out to work on a new project.
One of my favorite Facebook group pages was sponsoring a
Fabric Swap Challenge!
I had received a lovely goody package that included some darling
embroidered panels like this one.

Pairing it with this red pin dot was a given.
The real challenge was in the size of the embroidered panel.
It was just under 7″ wide and only about 9″ tall.
Honestly, that just made it more fun…I like a sewing challenge!
After asking for ideas on Facebook I had a consensus about
certain ideas that seemed likely.
We all thought a dress in the red pindot with a pinafore apron of the
white on white print would be darling!
Except that I couldn’t easily locate more of the white fabric.
I started to feel stubborn about making
this project work without purchasing something new.
That meant only a very abbreviated bodice could be cut from the panel.
Here’s the final project:
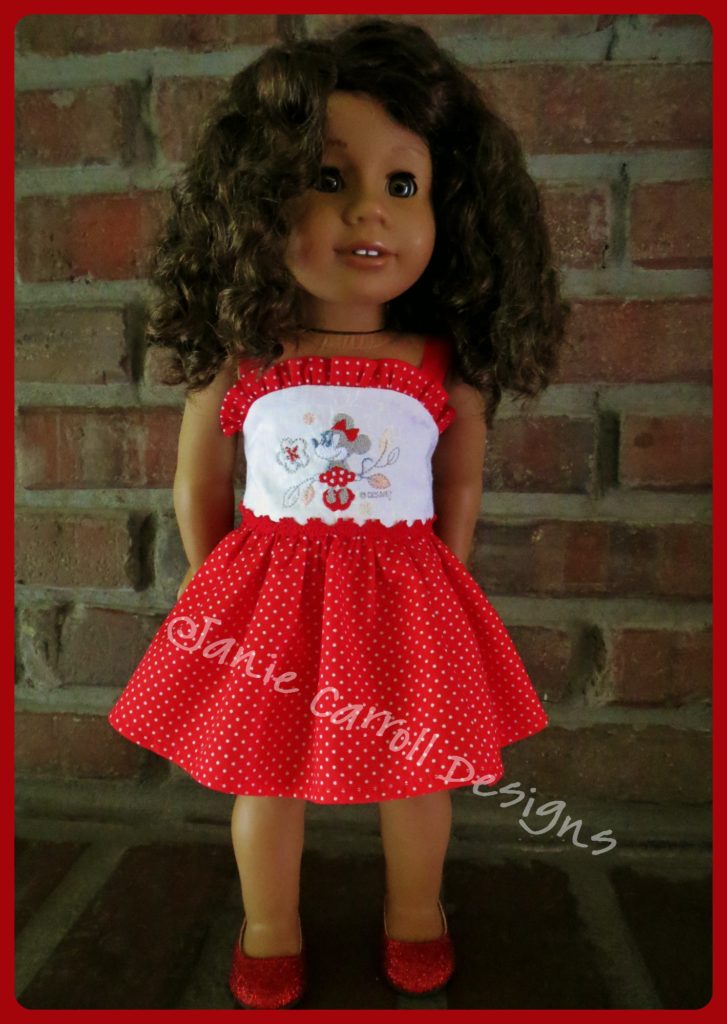
I could not be happier with this!
If this interests you, read on for all the details.
I started with this Create Kids Couture pattern, which you can find here:
http://createkidscouture.com/fairys-dolls.html
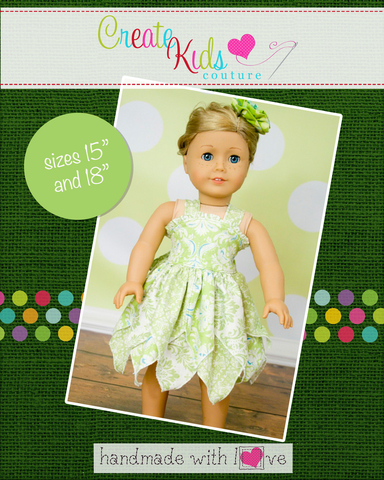
here’s their photo of the pattern cover. I have not made the fairy skirt shown here.
I really cannot comment on the pattern as a whole.
It may be great, it’s certainly cute enough!
I was interested in the bodice with the edge ruffle along the top.
I did make some changes to the bodice, adding about 1/2″ in length to start with.
From there, I checked some measurements and determined that I could
add a center back seam to the bodice, instead of cutting the back on the fold.
In fact, the entire bodice was still just a bit wide, so I trimmed 1/4″ off the side seams
of the front and back pieces. This pattern was meant to have elastic across the back
and I wanted to make a fitted garment. These adjustments would not have been necessary had
I followed the original pattern plan, and are not criticisms of the pattern.
As to the ruffle for the upper bodice, the pattern called for a 30″ length.
I like to cut ruffles of this type on the bias, whenever possible.
It adds a certain softness and flexibility and the ruffle is more graceful, as a result.
My bias strip was only about 22″ long, and I didn’t want to cut another length. Turned out,
this provided just enough gathering!
I also wanted my straps to attach to the bodice back, rather than
threading through buttonholes to tie in a back bow.
I cut the straps with plenty of length and attached them only in the front, to start with.
Now for a skirt
Our inspiration here is our little Mouse Miss.
so I had to ask myself:
What would Minnie do?
A full and flirty, gathered number, of course!
I thought about going with a standard full circle skirt.
This would have been a good choice, however,
I did hesitate more than once in the garment planning.
Why?
Because the colorations of the embroidered design were very subtle.
Minnie is stitched out delicately in grays with tiny pale pink accents.
It would have been all too easy to overwhelm and overshadow her.
Considering all that, I began comparing skirt options.
Beginning sewists are sometimes alarmed at mixing skirts
or other details from several patterns.
Changing the skirt on a dress is usually a safe place to try something different.
I decided on the gathered bias skirt option on the ‘Versatility Dress’ by Forever 18 Inches.
You can buy that pattern here:
Here is the photo from the Pixie Faire site:
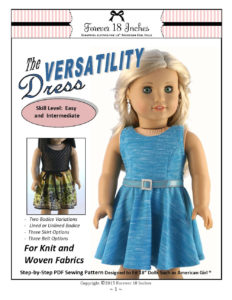
It’s an excellent pattern, altogether, with instructions for knit or woven fabrics and skirt options.
In this case I only used the skirt, and I was able to cut it exactly as the pattern specifies.
Last of all, I felt the dress needed a classic touch from Minnie herself.
Her signature bow
I didn’t feel the bow could be used as any front accent, considering
the whole concept of not overwhelming the embroidery.
Adding a bow in the back was just right!
I have made lots of bows over the years, in all sorts of different configurations.
Many of them don’t really require a pattern.
In this case, I found a bow that was perfection and the method is quite clever.
The bow is found in the ‘English Rose’ dress pattern by Mandy K Designs.
You can purchase the pattern here, which includes sizes for girls as well as dolls.
http://mandykdesigns.com/product/the-english-rose-dress-by-mandy-k-designs/
There are a number of cute variation, here’s a photo from their website:
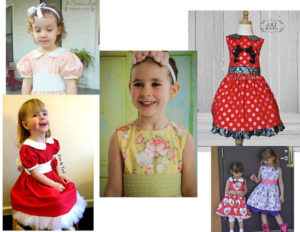
Again, I have stitched nothing from this pattern except the bow we’re talking about,
but there are so many cute choices here!
Makes me wish I had a little girl to sew for!
Here are some photos that show you the bow that captivated me:
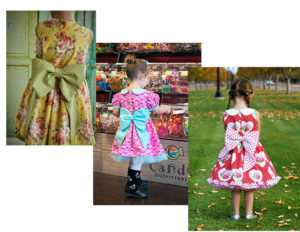
The bow is fabulous and perfect for our Mouse Miss!
The doll sized bow did seem too large for my project, so I reduced the pattern for the bow to 75%.
You might want to make a note of that.
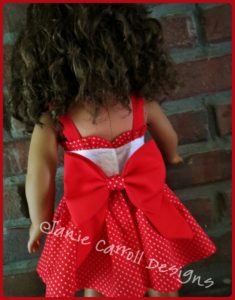
I also cut the bow tails accordingly narrower and shorter to match.
Friends, the method is actually quite simple but the pattern gives you 5 pages of
photo instructions on the bow so you just can’t get it wrong.
Kudos to Mandy K!
If these patterns are not available to you, consider using the bodice from view E of Simplicity 1135.
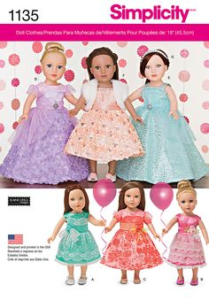
I have not stitched anything up from this pattern, so I can’t comment on fit but
the look of the bodice is very similar, and would offer a good canvas for
the embroidered design of your choice. For this style a design should be
no larger than 2.5″ square.
There you have it!
You really do not have to live and die by the ideas on any given pattern envelope.
Simple changes and combining elements from a variety of sources can
yield the exact result you’re looking for!
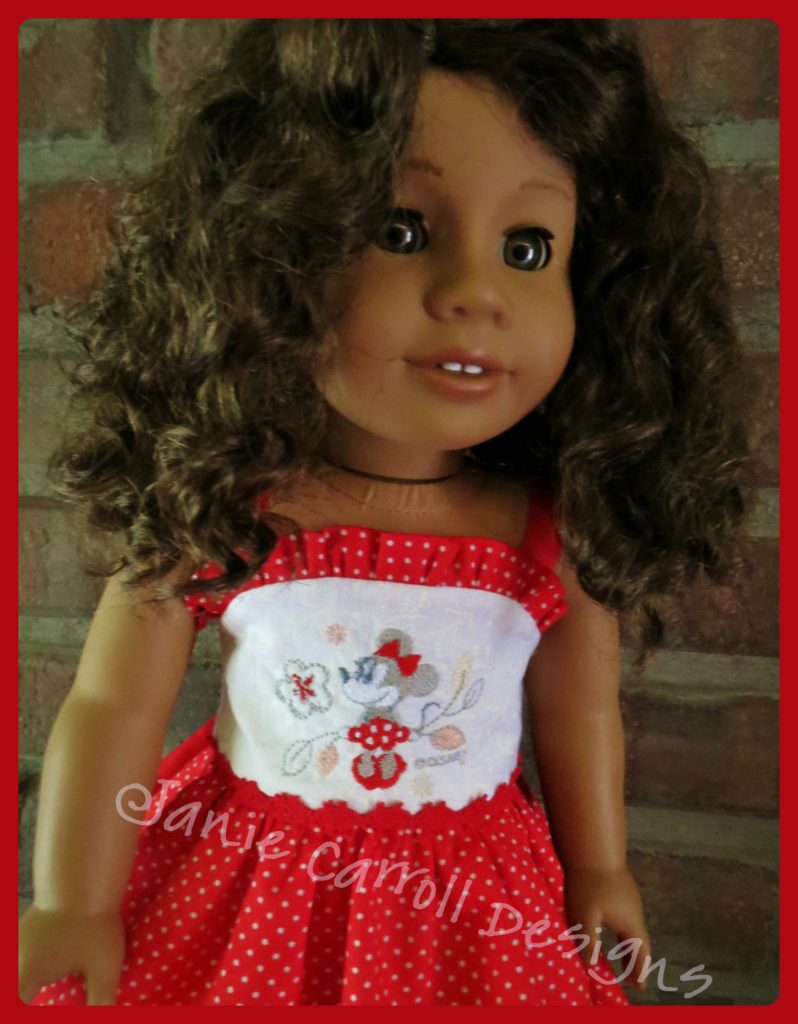
Karlie loves her new sundress!

Great blog! I’m glad to know so much about the patterns featured. I still like her curls. 🙂
Thanks, Marjory! She’ll probably have curls again in the future.
OMG Jane, Karlie is absolutely gorgeous! I had briefly scrolled by the FB post on my phone, wasn’t sure where the post was from (maybe your biz page even) Please share this doll’s picture with Doll & Bear too, it’s just awesome how you fixed up that hair! That dress is just awesome. You are just amazing at taking pieces from lots of patterns and working your magic on them. Karlie is a very lucky doll!
thank you, Tari! I will certainly share the pictures there, I meant to do that already!